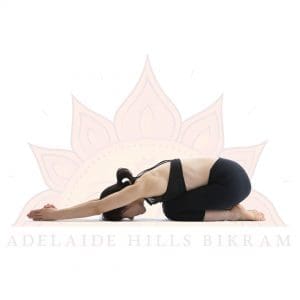
Bikram Posture #21 – Half Tortoise
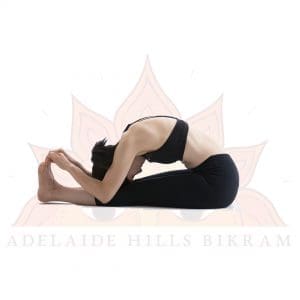
The Bikram Posture Half Tortoise Pose (aka Ardha Kurmasana) provides the maximum and ultimate relaxation. Bliss as your head goes below […]
Bikram Posture #21 – Half Tortoise Read More »
The Bikram Posture Half Tortoise Pose (aka Ardha Kurmasana) provides the maximum and ultimate relaxation. Bliss as your head goes below […]
Bikram Posture #21 – Half Tortoise Read More »
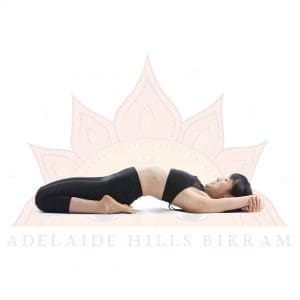
The Bikram Posture called Fixed firm pose (aka Supta Vajrasana) is a fantastic way to stretch the hip joints and
Bikram Posture #20 – Fixed Firm Read More »
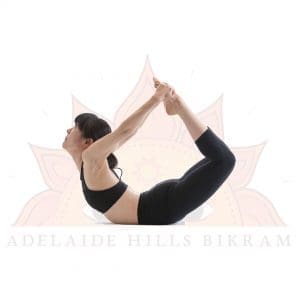
It looks difficult and even painful, but the Bow Pose is actually one of the most relaxing and rejuvenating of
Bikram Posture #19 – Bow Read More »
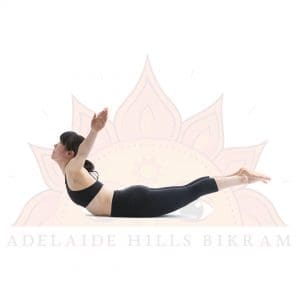
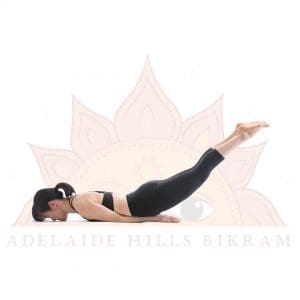
Full Locust (Poorna Salabhasana) continues to strengthen and improve the flexibility of the spine. It is a demanding posture and can
Bikram Posture #18 – Full Locust Read More »
If you’ve ever seen a locus hover above a flower or land on a branch, you have an idea of
Bikram Posture #17 – Locust Read More »
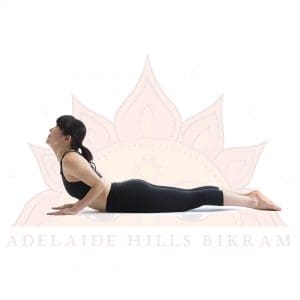
Cobra Pose (otherwise known as Bhujangasana) is the first posture in the spine strengthening series. Cobra Pose increases flexibility and
Bikram Posture #16 – Cobra Read More »
The perfect Sit Up is a stretching pose. It’s done in one smooth movement and is good for the abs and
Bikram Posture #15 – Sit Up Read More »
Did you know that there’s a whole lot more to Bikram Yoga than what you see on the surface? The
Bikram Posture #14 – Wind Removing Read More »
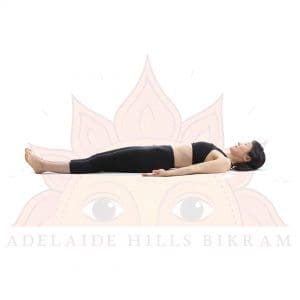
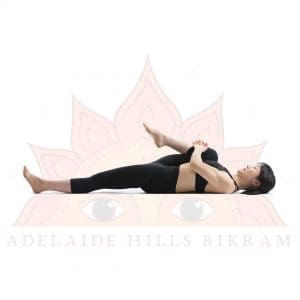
Bikram posture Savasana is of paramount importance to the Bikram yoga series and any yoga practice. It is a deceptively
Bikram Posture #13 – Savasana Read More »
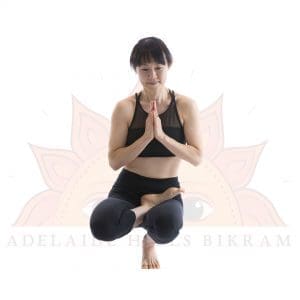
Toe Stand (also known as Padangustasana) is a stunning posture, both in how it looks and its physical and mental
Bikram Posture #12 – Toe Stand Read More »